How to catch an Octobear
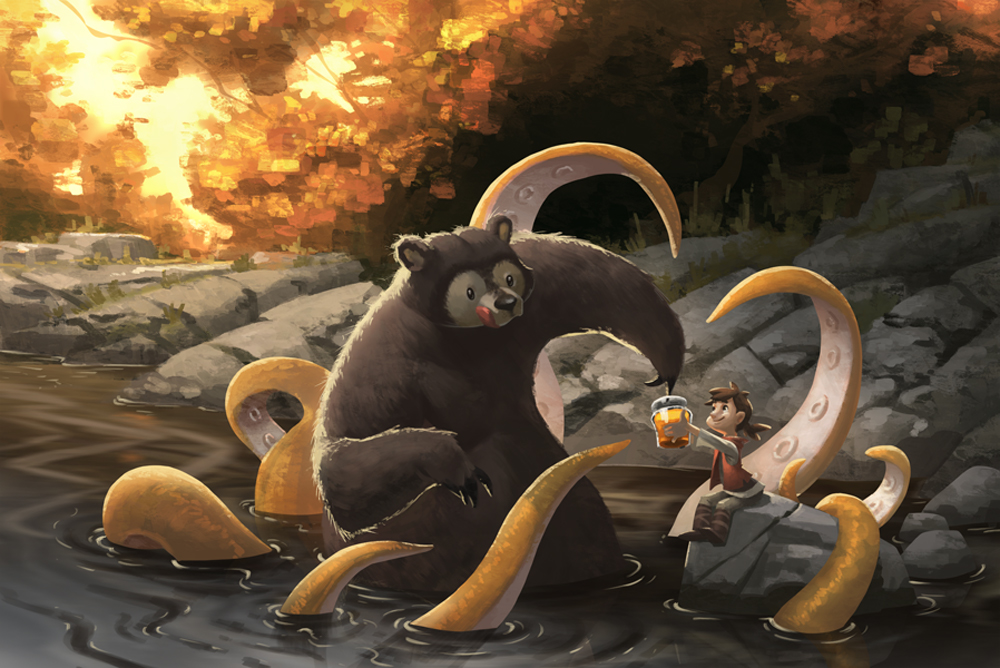
„Ulriks grandfather used to tell him a story about an encounter with a vicious beast, down at the lake. When he was about Ulriks age, this mysterious beast attacked him and forced him to hide behind the thick shrubbery on the shore. While in hiding, the beast stole his dearest friend, a teddy bear his mother made for him. Since that day, he would hike to the lake every day, hunting for that beast. In Ulriks mind, the story looked more funny, rather than scary. So he decided to find that beast himself! The beast stole the teddy, though Ulrik, which means… it likes cute or sweet things! And what is sweeter than honey?
With a big jar of honey in hand, Ulrik went to the lake. On the way he left small drops of honey as bait, to lure the beast in if necessary. He waited. Time passed without any notion of a monster. He ate a bit of the honey himself when he saw an ominous shadow closing in from the center of the lake. Out of the water emerged the beast he heard so many stories about and… just sat there looking at him. Tilting its head a bit it edged closer to him, eyeing the honey jar and waiting, somewhat expectingly. So Ulrik reaches out with his jar, allowing the „terrible“ beast to eat.“
What is an Octobear?!
The Octobear is pretty much what its name suggests, a fable creature mixing Octopus and Bear. The Octobear lives mostly under water, but gets more active on land during autumn. Incidentally, that creature is where the month October got its name from, not vice versa (at least that’s how it should be!).
I got the Idea for this creature a couple of years in the past. I was brainstorming with my then girlfriend for autumn and Halloween themed drawings, when this little pun came to my mind ( yes, I’m one of those terrible people which just loves puns! ). Since then, I’ve been drawing at least one Octobear image during October and spin its legend a bit more.
The making of: How to catch an Octobear
In the following passage I give you a detailed „making of“ or walk through of the creation process behind this image. I will show you important stages via work in progress shots and describe what I was doing and why. I will go into layer modes and brushes if needed. I also recorded the painting process as a video, sped up to 10 minutes.
So, if you want to know how this image came to life, keep on reading after the video ;).
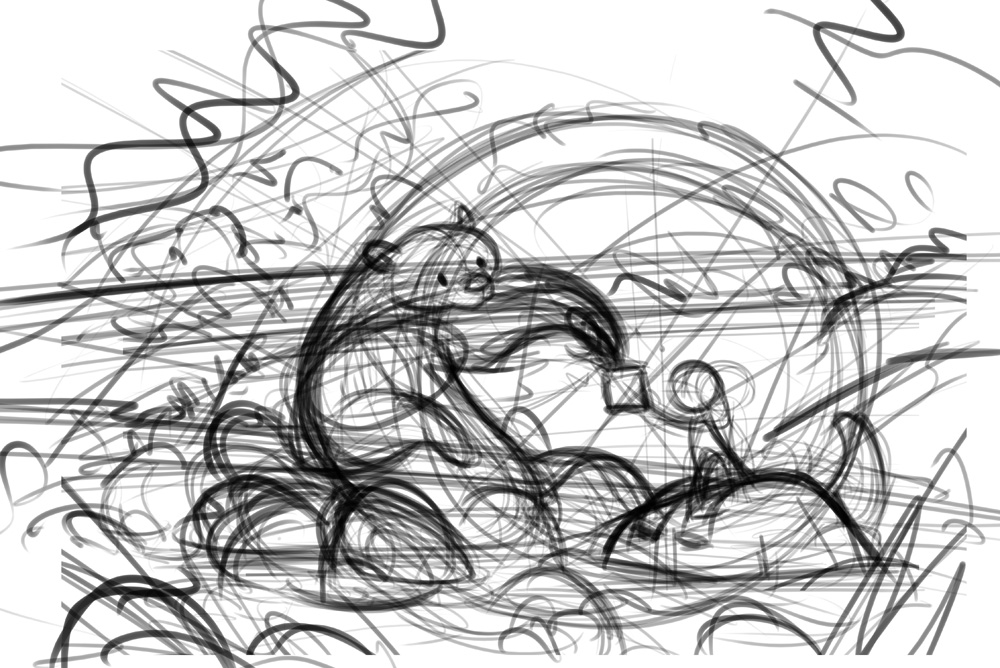
1: I start out with a rough sketch. In this step I try out ideas for the composition, themes and content, using mostly shapes and lines. This is also the stage where the story of an image starts to build up in my head for most of my images. Usually you should have your narative set once you start drawing. But I’m more of a discovery artist, same as a discovery writer. I have an initial idea, but discover the story while working on it. I had about 6 different thumbnails at the end, and chose this one to go forward with.
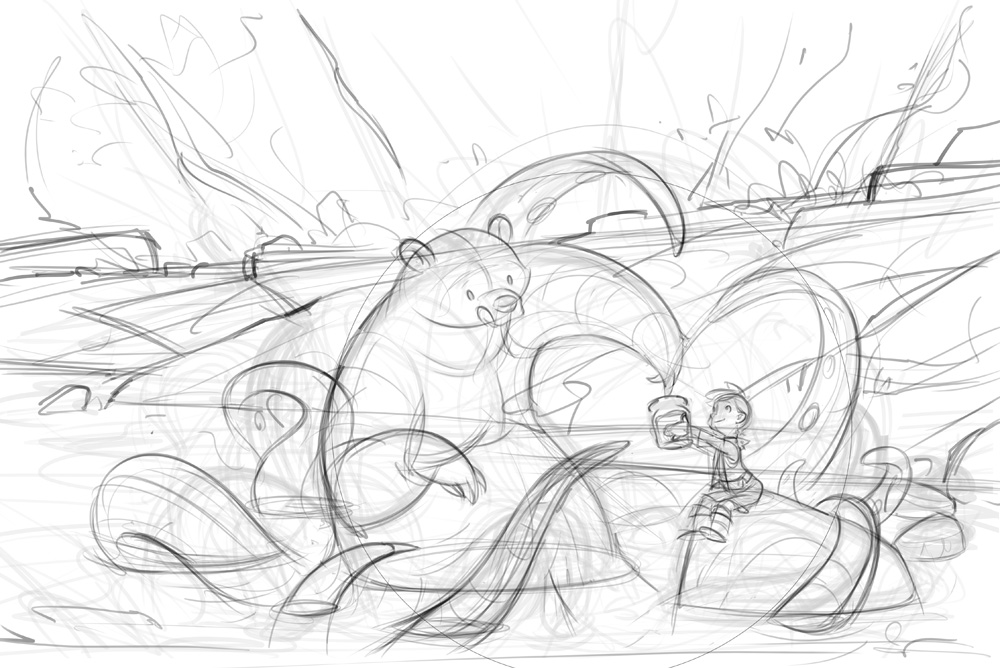
2: The second step is refining the idea. In the tumbnail I had indicated with the circle, that I want the main action of the piece to play out in an optically closed space. To achieve that, I used the movement of the Octobear and his tentacles to build that circle within the image. Extremities, like the tentacles, the hand of the bear and the boy by holding it, direct the overall movement in the image towards the jar. Same goes for lines in the rocks. Something I will pronounce more strongly in coming steps.
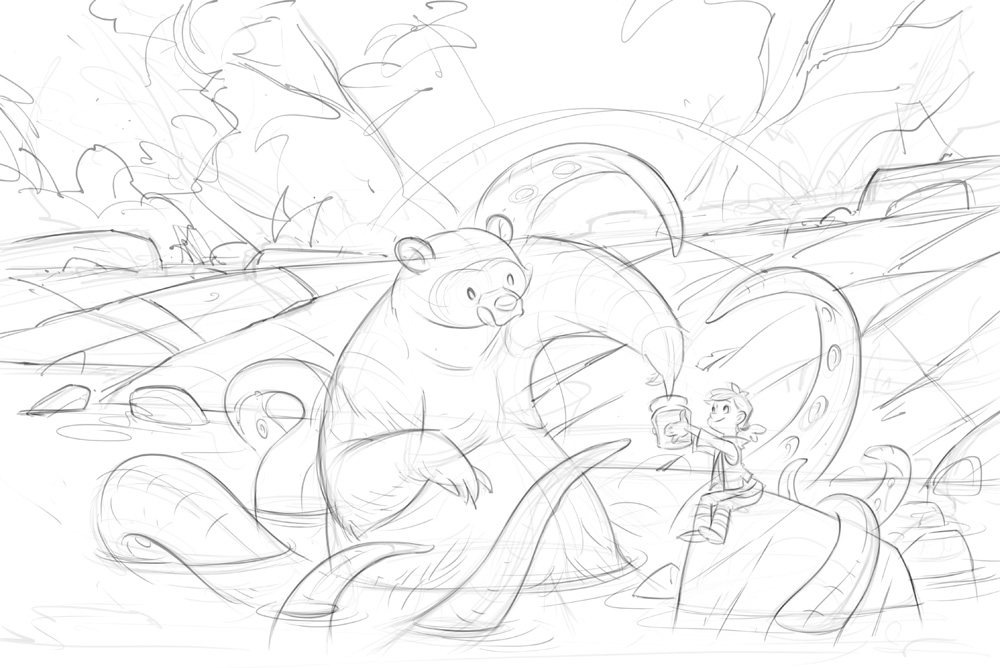
3: Once I’m happy with the sketch, I set the opacity of its layer to about 20 percent and start drawing the actual lineart on top of it. Here I try to be as precise as possible, as the lines will be my guidelines for the painting process. At this stage I noticed a „happy little accident“ in my composition. The arm, body and tentacle of the Octobear form the shape of a heart around the boy, with the honey jar in its center. This supports the intended story and the feeling I wanted to go for. Its great when something like this happens!
Up to this pint, I only used the standard round brush with its opacity and thickness set to pen pressure
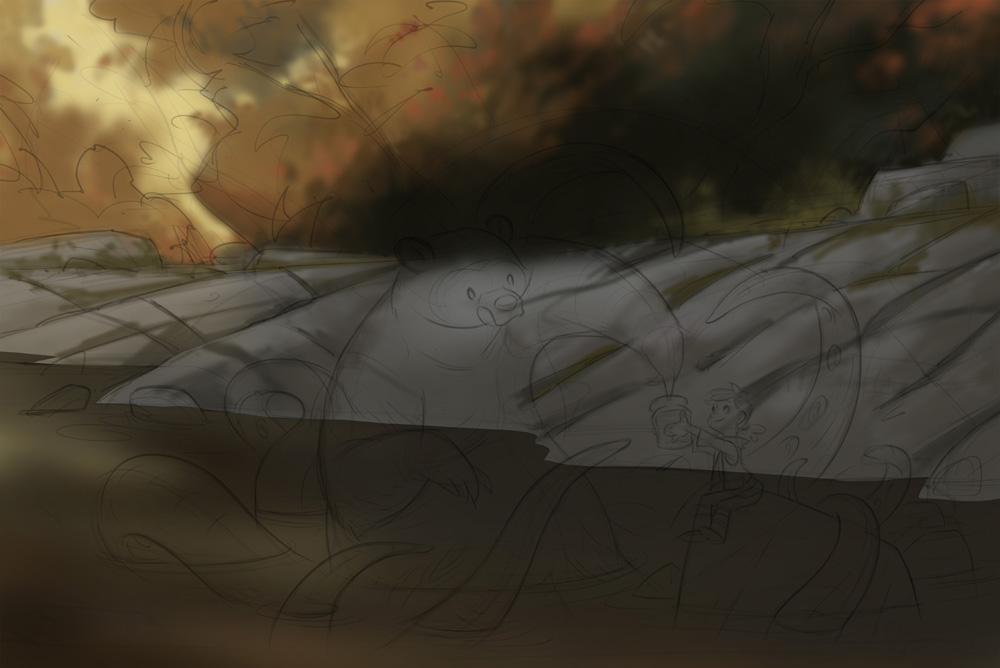
4: The painting process starts with the background. I establish the color theme, in this case browns and warm grays, as I’m going for a autumn scene. At this stage I try to keep to muted, less saturated colors and a overcast lighting situation. This will help me in later stages of the image, when I use adjustment layers and layer modes to achieve the lighting I want. Note that the lines in the rocks (cracks, faultiness and so on ) all move towards where the characters will be later on. This helps direct the eyes of the viewer to the point o interest in this painting. For brushes I use a standard round brush with soft edges and airbrush mode enabled. I like the way it lets the colors flow into each other. A bit like watercolor. I also use a hard edged rectangular shaped brush here and there. More on this one later.
6: Once the scene and color theme is established, I block in my characters. I use the lasso tool to select inside of my outlines and fill them with various grey values. That way I have solid shapes I can use as clipping masks to paint over. The bear, tentacles and child are each divided on separate layers and layer groups, which will be a great help in coming steps
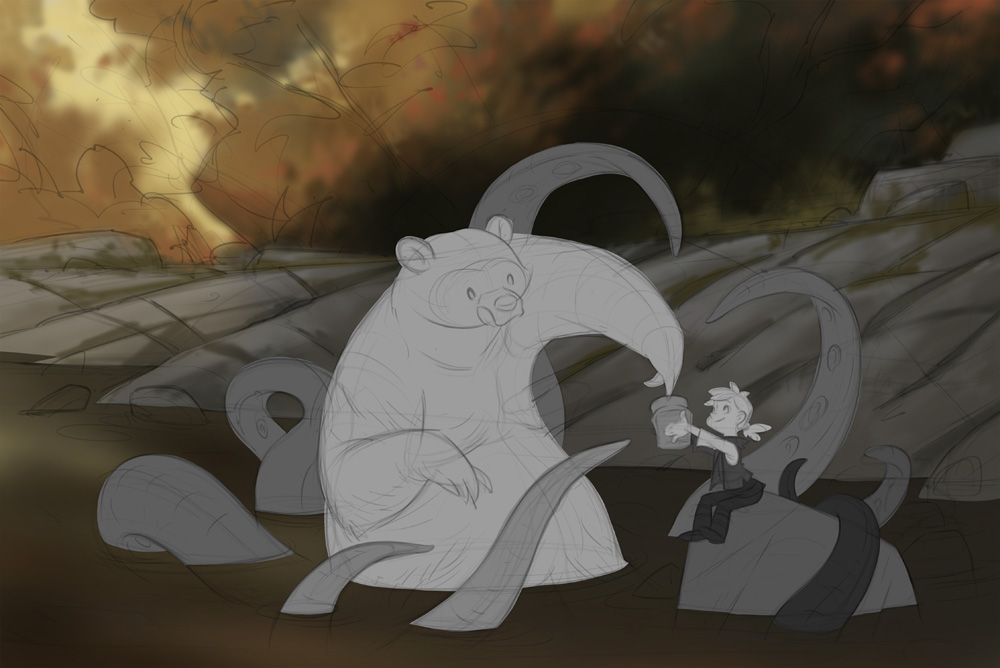
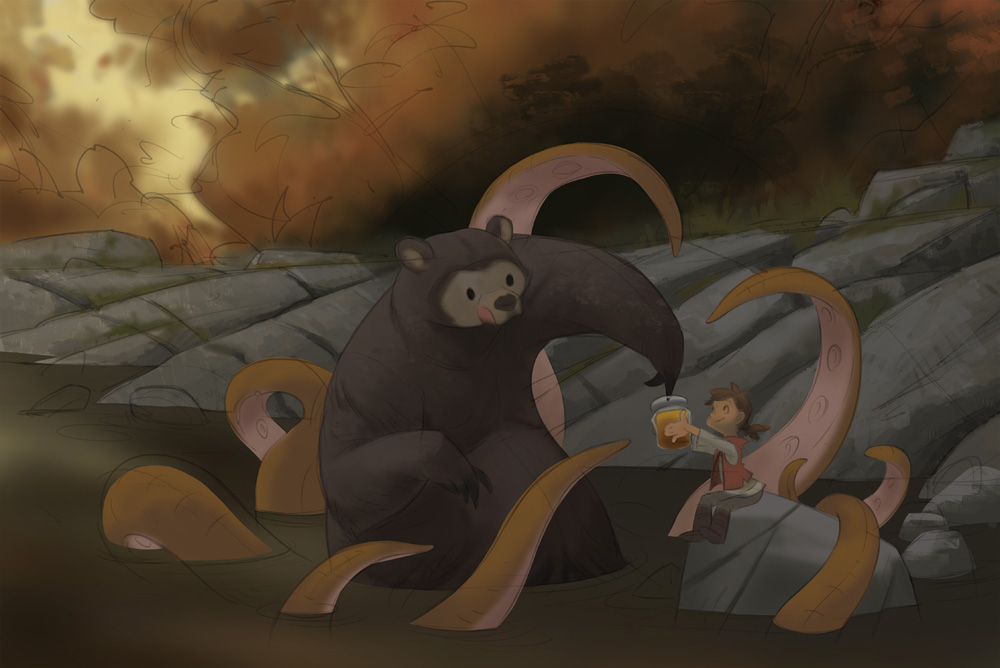
7: Dividing the image like that makes coloring each element a lot more comfortable. I lock the pixels in each individual layer, which means that I can only draw where pixels already exist. Using clipping masks I can tell a new layer to only affect pixels in the layer beneath. That way I can use big brushes to put in the base colors for the characters and don’t have to fear breaking up shapes by accident. I stay within an overcast light at this stage and also render the background a bit. I don’t stay in one place of th eimage for too long and jump around alot in stead.
8: Once I’m happy with the base colors I start adding the light. I use a color/saturation adjustment layer with the settings to colorize. I crank up the saturation and brightness to about 80% both. Then set it to Overlay strongly overblending the image. Next, I invert the mask of the adjustment layer to black. Now I can paint inside the mask, lighting the image as I want to. using different values, I can model the light around the shapes. This is also where the layer groups come in. I bind an adjustment layer like that to each group, applying it only to that group. That way I can model the light without fearing to break my shapes. At this stage I also use a rough, flat and hard edged brush to render the background to the same level as the characters.
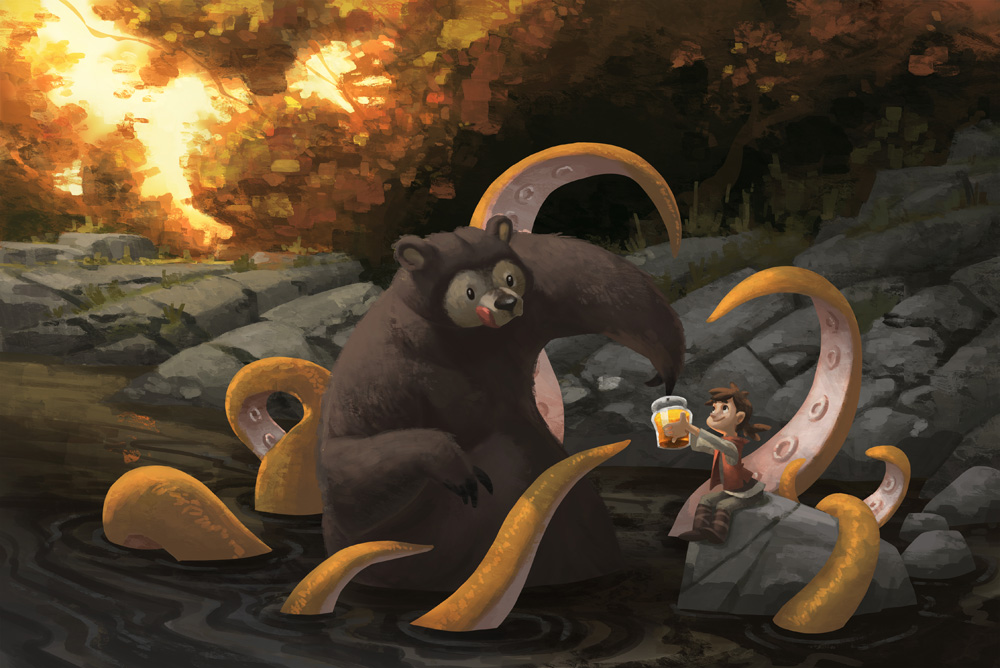
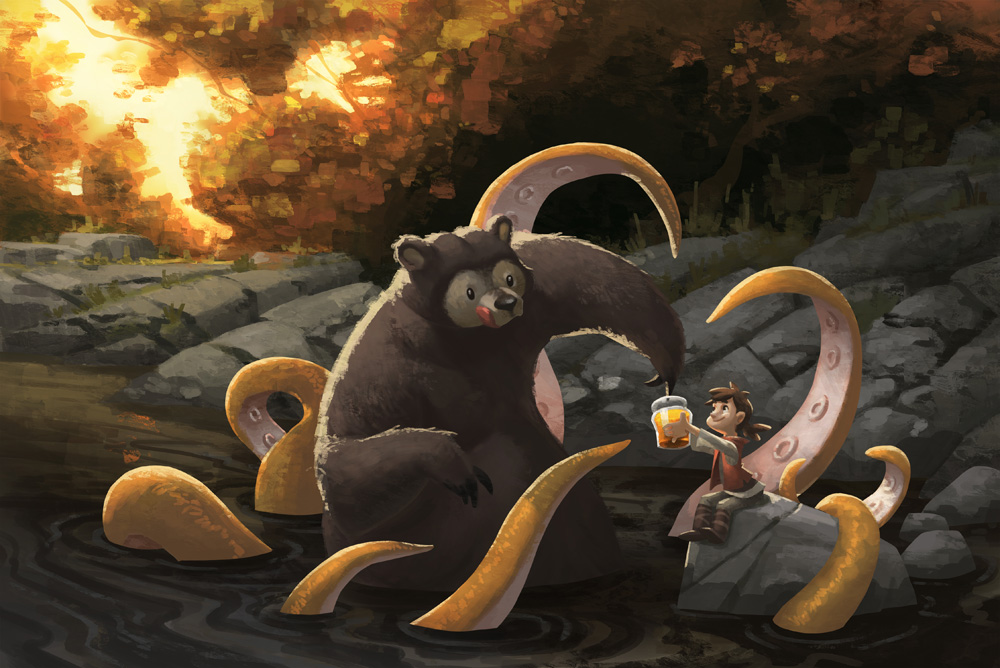
9: The sun in this scene stands fairly low in the sky, behind the characters.That light would scatter through the fur of the bear and reflect off of the tentacles. To achieve this effects, I add another layer on top of the adjustment layer and set it to screen. Using a bright, warm yellow alongside a rough, textured brush, creates this effect of light shining through the fur. I repeat that step for each of the layer groups
10: With the lighting and effects set, all that remains s is rendering and cleaning up the image. I add a light effect on the water, giving it a more flowing appearance and add reflections of the characters and the environment to make it look more realistic. Next, I used a big, soft and round brush with a layer set to Color Dodge and added a gradient from the top left to the top bottom right, simulating the light that falls through the leaves, creating a nice atmospheric effect and shows the light that refracts through the bears fur a bit better.
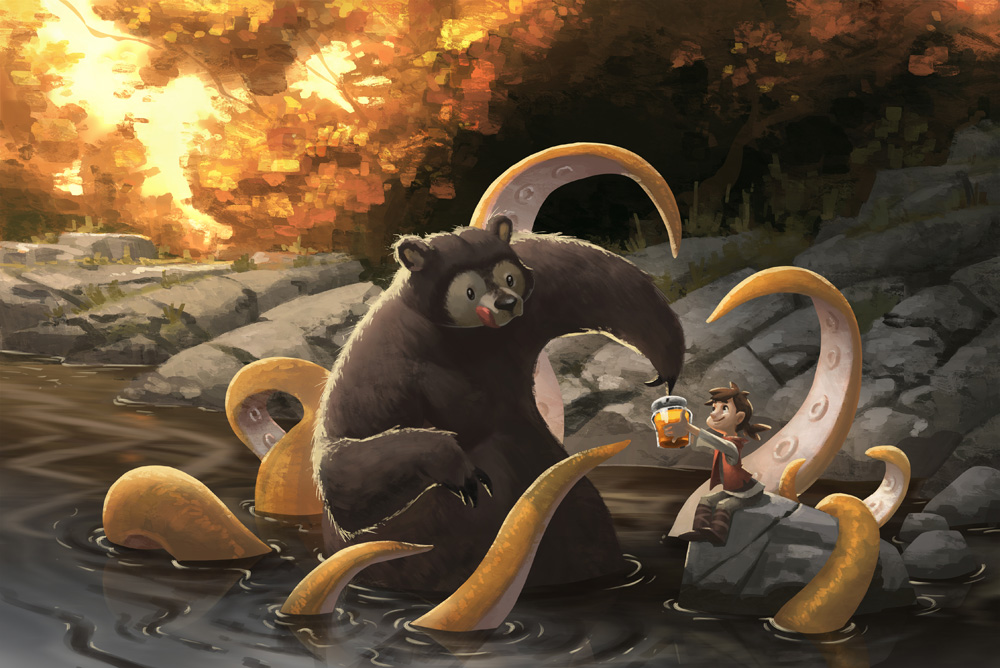
I hope you liked this little walk through the creation process of “ How to catch an Octo-Bear“. If you have questions or want to talk about this one, feel free to talk to me in the comments!.
This is only the first making of post of many more to come.
With that, Ithank you for reading. Until next time!
Cheers
Marcel

0 Kommentare